

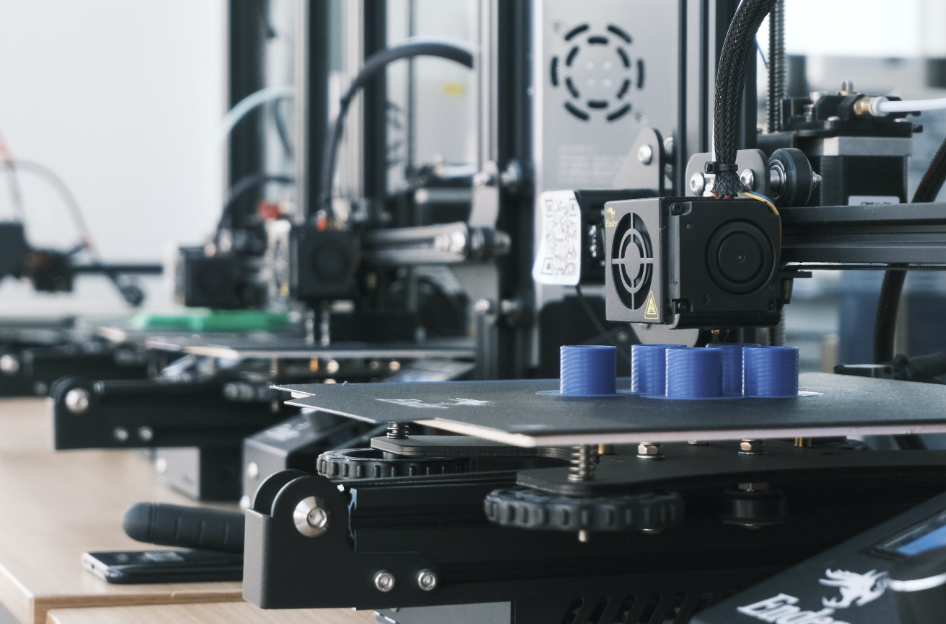
Home 3D printing has moved from a niche hobby to something an ordinary household can try on a desk or spare shelf. A small machine can turn out replacement parts, organizers, tools and gifts that would otherwise mean a shop trip or a long wait for delivery.
In this article we will explore how the main printer types differ, what a sensible first setup looks like, which materials suit beginners, how to prepare a model, and how to fix the usual early problems.
Choosing between filament and resin printers
Most home printers belong to one of two families, and picking the right one is the biggest early decision. Filament printers, often called FDM machines, melt a plastic strand and place it in thin layers. Resin printers use a light source to harden liquid resin one layer at a time. Each family suits a different kind of person, so the real question is not which is better but what you want to make.
Filament machines are the usual recommendation for beginners. They handle large, sturdy objects such as brackets, hooks, enclosures and storage boxes well, and the material stays dry to the touch. Spools come in a wide range of plastics and colors, and cleanup after a print is simple. The surface shows faint layer lines, which most people happily accept for practical items.
Resin machines shine when fine detail is the goal, which is why they are popular for miniatures, jewelry patterns and small display pieces. The surface can look almost smooth straight from the printer. The trade-off is a messier routine, because liquid resin must be handled with gloves, printed parts need washing in a solvent, and a curing step under light finishes them. Leftover resin and wash liquid should be disposed of following local rules rather than poured down a drain.
Build volume matters more than newcomers expect. A larger print area lets you make bigger parts in one piece, but it also means a bigger machine, higher power use and much longer print times. Many beginners find that a mid-sized filament printer covers nearly everything they want to make. Check the usable dimensions listed by the maker, because the printable space is often smaller than the outer frame suggests.
Also think about how the printer arrives. Some are fully assembled, some need only a few bolts, and some are kits that take an evening or more to build. A kit teaches you how the machine works, which helps with repairs later, while a ready-built unit gets you printing sooner. Be honest about your patience, your tools and whether you enjoy tinkering before you decide.
Running costs are modest but real. Filament is sold by weight, a typical spool lasting through many small projects, and the printer draws roughly the power of a small appliance while heating. Spare nozzles, plates, glue sticks and cleaning supplies add a little more over time. Keeping a rough tally for the first few months shows whether the hobby suits your budget.
| Point of comparison | Filament (FDM) printer | Resin printer |
| Best for | Practical parts, larger objects, general use | Small, highly detailed models |
| Surface finish | Visible layer lines | Very smooth, fine detail |
| Mess and handling | Low, dry material | Higher, needs gloves, washing and curing |
| Ventilation needs | Moderate, higher for some plastics | Strong, resin fumes are unpleasant |
| Typical learning curve | Gentle | Moderate, with more steps after printing |
| Running tasks | Swap spools, clean the bed | Filter or replace resin, wash, cure, dispose |
The parts of a printer worth knowing
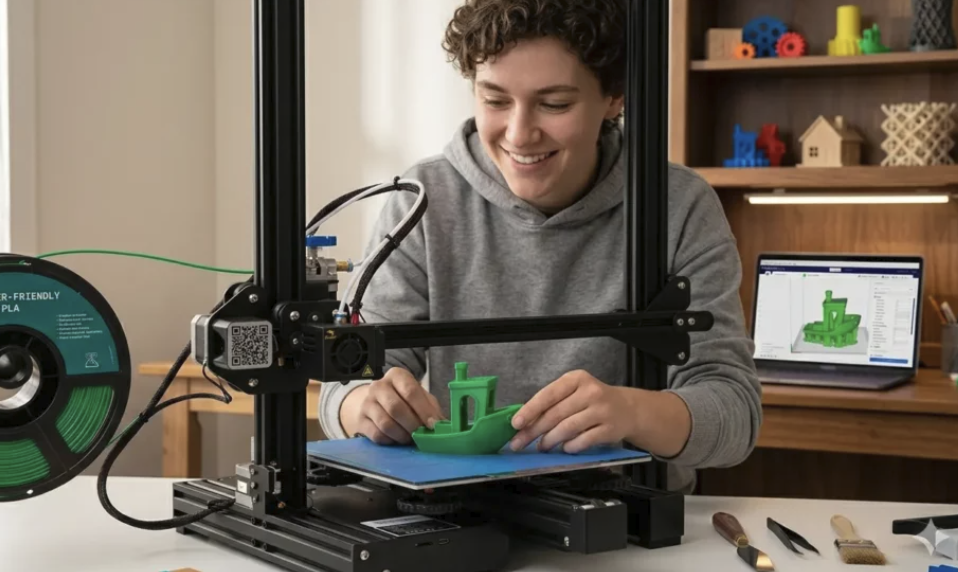
You do not need an engineering background, but a few terms make every guide and forum post easier to follow. The frame holds everything in place, and a stiff frame keeps layers aligned. The hot end is the heated assembly that melts plastic, and the nozzle is the small opening at its tip, commonly 0.4 millimeters wide on beginner machines. The extruder is the gear system that pushes filament toward the hot end, and the build plate is the surface where the object grows.
The build plate is usually heated, because warm plastic sticks better to a warm surface. Plates come in several finishes, including smooth coated sheets, textured sheets and glass, and each gives a different bottom surface and different grip. Many models use a flexible plate that you bend to release the finished print. If you plan to replace plates later, check that spares are easy to find.
Bed leveling deserves special attention because the first layer decides whether the rest of the print succeeds. On a manual machine you adjust screws or knobs under the plate until the nozzle sits at an even, tiny distance from the surface at several points. Many newer printers measure the plate with a sensor and compensate automatically. Automatic systems save time and frustration, though they still need a sound mechanical setup to work well.
Other design choices affect daily life. An enclosed printer keeps drafts away and holds in some noise and fumes, which helps with certain materials, while an open frame is cheaper and easier to reach. A direct drive extruder sits close to the hot end and handles flexible filament more easily than a long tube setup. Quiet motor drivers, a clear screen and the option to print from a memory card or over a network all make the machine pleasanter to live with.
Before buying, weigh the support around the machine as much as the hardware. A popular model has more tutorials, more replacement parts and more people who have already solved your problem. Check the warranty terms, the maker’s support reputation and whether the firmware is updated and documented. Terms and consumer protections differ between countries, so read the seller’s policy for your region.
| What to check | Why it matters | Good sign |
| Frame rigidity | Wobble causes ripples and misaligned layers | Solid metal frame, little flex when pressed |
| Bed leveling | Controls first layer quality | Automatic sensor or easy manual knobs |
| Spare parts | Nozzles and plates wear out | Common parts sold by several shops |
| Community | Speeds up troubleshooting | Active forums and many video guides |
| Noise level | Affects where you can place it | Quiet drivers, enclosure option |
| Support and warranty | Protects against faulty units | Clear policy and responsive service |
Setting up your first printer and workspace
Start with the location, because it shapes everything that follows. Choose a sturdy, level table that does not wobble when someone walks past, since vibration shows up as ripples in the plastic. Keep the printer away from direct sunlight, open windows and heating vents, which cause uneven cooling. Leave open space on every side so that moving parts can travel freely and heat can escape.
Think carefully about safety. The nozzle and heated plate reach temperatures that can burn skin, and moving parts can pinch fingers. A printer should not run unattended in a bedroom or beside flammable items such as paper stacks and curtains. A working smoke alarm in the home is a sensible precaution, and many experienced users add a plug-in timer or a power cutoff and check on long jobs regularly.
Ventilation matters too. Heated plastics release tiny particles and fumes, and the amount depends on the material and the temperature. PLA is generally considered the gentler option, while materials such as ABS release stronger fumes and should be printed in a well-ventilated room or an enclosure that vents safely. If you have breathing conditions, or anyone in the home is sensitive to fumes, talk to a doctor before setting up a printer in a living area.
The first session goes best in a simple order. Unpack the printer, remove every piece of shipping foam, tape and transport screw, and compare the parts with the checklist in the manual. Assemble the frame as instructed, tighten bolts evenly and check that the belts have firm, even tension. Then connect the power and run any built-in leveling routine, or level the plate by hand using a sheet of ordinary paper to feel for light resistance at each corner.
Once the machine is level, heat the nozzle to the range printed on the filament spool and feed the strand until it flows out smoothly. Wipe the nozzle once it has cooled slightly, taking care not to touch the hot metal. Print a small test object that came with the machine, and watch the first layers closely. Be ready to stop the job if the strand curls away from the plate or drags across the surface.
Do not worry if the first attempt looks rough. Early results teach you how your particular machine behaves, and tiny changes in plate height make a visible difference. Keep a notebook or a file that records settings which worked, the filament brand and the room temperature. Over a few weeks those notes turn into your own reliable reference.
Noise is worth planning for as well. Fans and motors hum constantly, and a long print can run for many hours, so a spare room, garage or quiet corner is better than a bedroom. A thick mat or a piece of dense foam under the printer reduces vibration carried through the table. If you share your home, agree on when long jobs may run so that nobody is disturbed at night.
Materials and what each is good for
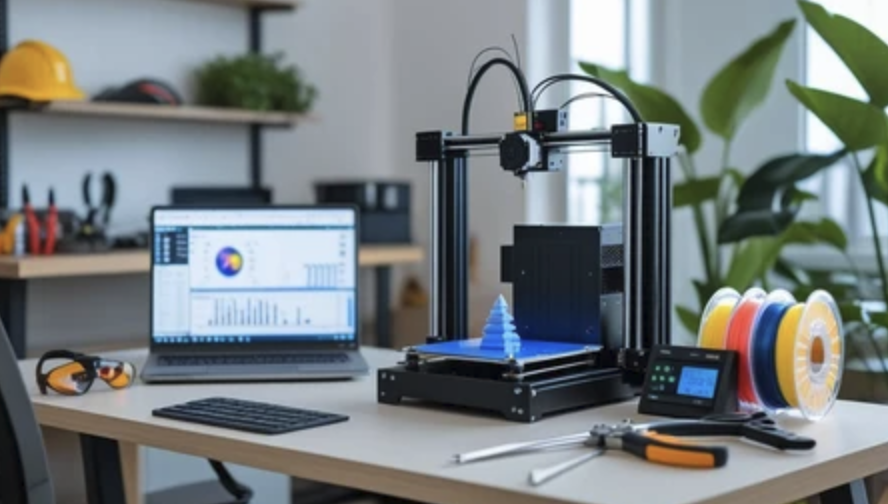
The material you choose changes how easy printing is, how strong the object feels and how it behaves outdoors. PLA is the most common beginner choice because it prints at lower temperatures, warps little and comes in many colors. It is stiff but can soften in a hot car or near a heater, so it is a poor fit for items that live in high heat. PETG is a step toward toughness and moisture resistance, and it suits containers, brackets and outdoor fixtures, though it can string more.
ABS and ASA are stronger against heat and impact, and they are used for car-interior and workshop parts. They also warp more readily, need an enclosure and release stronger fumes, so they are not good first choices. TPU is a flexible filament for gaskets, phone cases and grips, and it prints best slowly on a direct drive extruder. Nylon and similar engineering plastics are very tough but absorb moisture quickly and demand a dry, carefully controlled setup.
Storage is a quiet factor in quality. Many filaments absorb moisture from the air, and wet plastic pops, strings and produces rough surfaces. Keep spools in sealed bags or boxes with desiccant packs, and consider a dedicated dry box if you live in a humid climate. If a spool seems to have gone bad, many makers publish drying guidance for their specific product, and following it is better than guessing.
Color and brand matter less than consistency. Cheap spools with uneven thickness cause jams and gaps, so reading user feedback on a given product before buying a large quantity is worthwhile. Buy small spools while learning, because settings that work for one brand may need tweaking for another. Once you find a filament that behaves well, repeat buying it.
A little patience pays off with new spools. Each brand and color can behave slightly differently, so run a small test print at the start of every new spool before committing to a large job. Label the spool with the temperature that worked best, and keep the original packaging if it lists drying or storage advice. Over time you will build a shortlist of dependable products.
Finally, match the material to the job instead of using one plastic for everything. A hook for a coat in a heated hallway can be PLA, whereas a holder on a sunny balcony is better in PETG or ASA. Food contact is a special case, since layers can trap bacteria and not every filament is made for it, so avoid printing items meant for eating or drinking unless the maker states the product is food safe. Check each spool label and datasheet for temperature settings and any special handling advice.
| Material | Strengths | Watch out for | Beginner friendly |
| PLA | Easy to print, many colors, low warping | Softens in heat, can be brittle | Yes |
| PETG | Tough, moisture resistant | Stringing, sticks hard to some plates | Yes, after some practice |
| ABS | Heat and impact resistant | Warps, strong fumes, needs enclosure | No |
| ASA | Good outdoor and sunlight resistance | Fumes, enclosure helpful | No |
| TPU | Flexible, impact absorbing | Needs slow speed and careful feeding | Moderate |
| Nylon | Very tough, wear resistant | Absorbs moisture, difficult settings | No |
Finding, preparing and slicing a model
Every print begins as a three-dimensional file, most often in a format called STL or the newer 3MF. You can download ready-made files from online model libraries, many of which are free and sorted by category, or design your own. Starting with simple, proven models is the best way to learn, because a file that others printed successfully removes one source of doubt. Read the notes attached to a model, since good designers recommend orientation, layer height and whether supports are needed.
A program called a slicer turns the file into instructions the printer can follow. It cuts the model into layers, plans the path of the nozzle and saves the result as a file for your machine. Most beginners use a free slicer with a ready-made profile for their printer, then change settings one at a time. Changing many things at once makes it impossible to know which change helped.
A few settings do most of the work. Layer height controls detail and speed, and a commonly used value for a 0.4 millimeter nozzle is 0.2 millimeters, with thinner layers giving smoother curves and longer print times. Walls, sometimes called perimeters, give strength to the outside, and infill is the pattern inside; many everyday objects use a fairly low infill percentage, while load-bearing parts use more walls and higher infill. Print speed trades time for quality, and slowing down often cures rough surfaces.
Orientation and supports deserve careful thought. A model placed with its flat face on the plate prints reliably, while overhangs that stick out at steep angles may need support structures that you break away afterward. Placing the model so that layers run across, rather than along, the direction of stress makes a part stronger. Use the preview function in the slicer to scroll through each layer before you start, looking for gaps, floating areas and surprising supports.
Designing your own parts is a rewarding next step. Beginner-friendly design programs, many of them free, let you draw simple shapes, combine them and export a file. A pair of digital calipers is a cheap, useful tool for measuring the real object you want to fit. Leave a small gap, commonly around 0.2 millimeters for parts that must slide or snap together, and test on a small piece before printing the full model.
Finishing a print is part of the craft too. Remove supports slowly with flush cutters, then smooth rough spots with fine sandpaper, working gently so the plastic does not heat up and soften. Wear eye protection when snapping off supports, because small fragments can fly. A few minutes of careful cleanup can make a plain print look polished.
Fixing the common print problems
Almost every beginner meets the same handful of troubles, and most have simple causes. The first rule is to change one thing at a time and write down the result. The second rule is to check the basics before blaming the machine: clean plate, correct filament temperature, dry filament and a properly seated nozzle. Many problems disappear after these simple checks.
When the first layer does not stick, the cause is usually plate height, a dirty surface or a cold plate. Wipe the surface with isopropyl alcohol or wash a coated sheet with mild dish soap and water, then handle it by the edges. Lower the nozzle slightly, or run the leveling routine again, so that the first line is gently pressed into the plate and not lying on top of it. Slowing the first layer gives the plastic time to bond.
Thin strands between parts, called stringing, normally point to wet filament, a temperature set too high or retraction settings that need adjusting. Warping, where corners lift, usually means the part cooled unevenly, so a brim, a warmer plate and a draft-free room help. Gaps and thin walls, called under-extrusion, can come from a partial clog, a worn nozzle, a tangled spool or a loose feeder. Layer shifts often come from loose belts or a print head that struck a curled-up part.
If the nozzle clogs, heat it, push the filament by hand and pull it out firmly to remove debris, an approach often called a cold pull. Replace nozzles as a matter of routine, since they are cheap and wear out. Let the printer cool before touching the hot end, and always unplug the machine before working on electronics. If a problem keeps returning, a search with your printer name and the symptom will often lead to a solution.
Basic maintenance prevents many problems. Clean the plate regularly, remove dust and plastic bits from the frame, and check that bolts and belts remain tight. Add a drop of suitable lubricant to the rails or rods if the maker recommends it, and avoid over-oiling. Update firmware only when release notes show something you need, and save your working settings first.
| Symptom | Likely cause | First fix to try |
| First layer will not stick | Plate too far away, dirty surface | Re-level, clean with alcohol, slow the first layer |
| Stringing between parts | Wet filament, high temperature | Dry the spool, lower the temperature a little |
| Corners lifting | Uneven cooling | Add a brim, shield from drafts, warm the plate |
| Thin or missing lines | Partial clog, tangled spool | Cold pull, check the spool path |
| Shifted layers | Loose belt, collision | Tighten belts, reduce speed, check for curled parts |
| Rough top surface | Too little infill under the top | Raise top layers or infill |
Conclusion
Begin with a clear, modest goal: one reliable printer, one spool of PLA and a few simple projects. Decide whether you need practical parts or fine detail, and let that choice settle the filament versus resin question. Set a budget that includes extras such as spare nozzles, a small tool set, calipers and a dry storage box, because the printer price is rarely the whole cost. Compare local retailers’ return policies and warranty terms, which vary by country.
Next, prepare the space before the box arrives. Clear a sturdy table in a ventilated room, check that a smoke alarm works nearby, and keep a heat-safe mat underneath. Read the whole manual once before assembling anything. Run the first test print while you are present, and stay with the machine through the opening layers of every new job.
Then follow a simple learning path over the first few weeks. Print the supplied test object and note how the first layer looks, then print a small calibration model and check its dimensions with calipers. Make something useful from a trusted free model, such as a cable clip or a shelf bracket, so the printer proves its worth early. After that, change one slicer setting at a time and compare the results side by side. When you feel confident, start designing a simple part of your own and test the fit with a small sample before committing to the full print.
Resist the urge to upgrade the machine straight away. Many beginners spend their first month buying add-ons before they have learned what their printer already does well. Wait until you meet a real limit, such as noise, a worn part or a missing feature, and then upgrade with a clear reason. Small, well-chosen improvements tend to outperform a pile of unnecessary extras.
Keep records and ask for help early. A short note about each print, with the filament, temperature and settings, saves hours later. Forums and user groups for your printer model are generous with advice, and a clear photo with a description of the symptom usually brings useful answers. If you are unsure about electrical safety, heat or fumes, check the manufacturer’s safety guidance and, where needed, consult a qualified electrician or a doctor.