

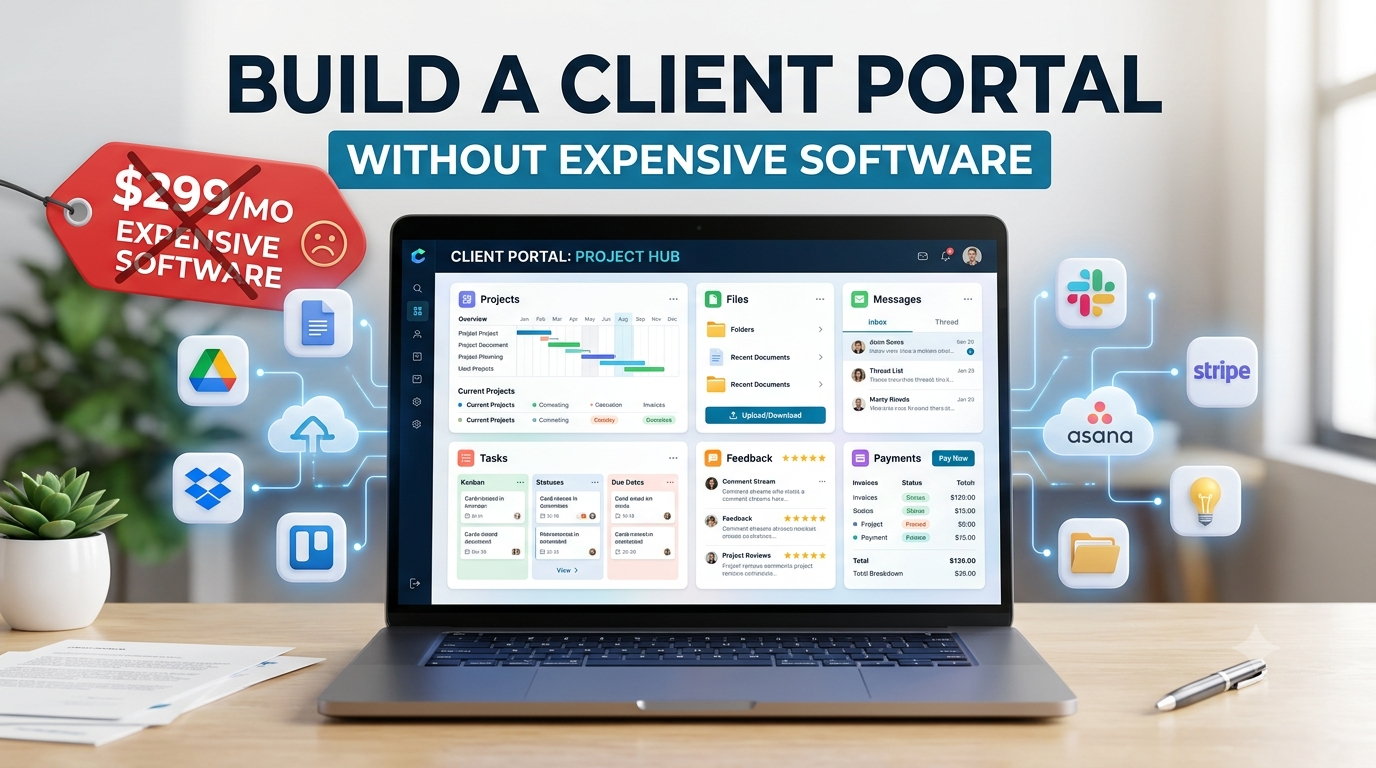
Managing clients through email can quickly become messy.
Files get buried in long conversations. Important messages become difficult to find. Clients ask the same questions repeatedly, and you may end up searching through your inbox just to locate one document.
A client portal can solve many of these problems by giving each client one organized place to access files, project updates, instructions, and important information.
The good news is that you do not always need expensive client-management software to build one.
With a few affordable or free tools, you can create a simple client portal that looks professional and works well for freelancers, consultants, agencies, coaches, and small businesses.
What Is a Client Portal?
A client portal is a private online space where you and your clients can share project-related information.
Depending on your business, a portal might include:
- Project updates
- Documents
- Contracts
- Invoices
- Project timelines
- Brand assets
- Meeting notes
- Client instructions
- Feedback forms
- Support information
- Important links
Instead of sending everything through separate emails, you can give the client one central location.
Why Do You Need a Client Portal?
A client portal can make your business look more professional while reducing unnecessary communication.
For example, instead of sending an email saying:
“Here is the latest version of the document. Let me know if you need anything else.”
You can place the document inside the client’s project area and keep the latest version there.
This creates a more organized workflow.
A simple portal can help you:
- Save time
- Reduce repetitive emails
- Keep files organized
- Improve client communication
- Make projects easier to manage
- Give clients a better experience
Do You Need Expensive Client Portal Software?
No.
Dedicated client-management platforms can provide advanced features, but a small business may not need all of them.
If your primary requirements are file sharing, communication, project updates, and organized information, you can build a simple system using tools you may already know.
For example, you can combine:
- Cloud storage
- Online documents
- Forms
- Spreadsheets
- Calendar tools
- Password-protected pages
- Project-management tools
The aim isn’t to build something overly complex or difficult to understand.
The goal is to create a simple and reliable place where clients know exactly where to go.
Step 1: Decide What Your Clients Need
Before choosing a tool, decide what the portal actually needs to contain.
Start with a basic list.
Client Information
Include:
- Client name
- Company name
- Contact details
- Project name
- Important dates
Project Information
Add:
- Project status
- Current tasks
- Upcoming deadlines
- Deliverables
- Next steps
Files
Depending on your business, you may need:
- Contracts
- Reports
- Designs
- Videos
- Documents
- Invoices
- Brand assets
Communication
You may also want:
- Feedback forms
- Meeting links
- Support instructions
- Contact information
Do not add unnecessary features just because a software platform offers them.
Step 2: Choose a Simple Tool Stack
A basic client portal can be built with several types of tools.
Cloud Storage
Cloud storage can act as the file-management section of your portal.
Create a separate folder for each client.
For example:
Client Name
- 01 – Contracts
- 02 – Project Files
- 03 – Deliverables
- 04 – Reports
- 05 – Invoices
This structure makes information easier to find.
Online Documents
Use online documents for information that changes regularly.
You might create a project overview containing:
- Project goals
- Current status
- Important links
- Timeline
- Next steps
Forms
Online forms are useful for collecting information from clients.
You can use forms for:
- Project questionnaires
- Feedback
- Content approvals
- Revision requests
- New project requests
Calendar
A shared scheduling or booking page can make meetings easier.
Instead of exchanging multiple emails about availability, clients can choose an available time.
Step 3: Create a Client Portal Template
Once you know which tools you need, create a reusable template.
Your main page could look like this:
Welcome, [Client Name]
Project: Website Redesign
Status: In Progress
Project Overview
A brief overview of what your project is about and what you hope to achieve.
Current Status
Explain what has been completed and what is currently being worked on.
Files
- Project documents
- Deliverables
- Reports
- Brand assets
Important Links
- Meeting calendar
- Feedback form
- Shared folder
- Support contact
Next Steps
Explain what you need from the client and what you will do next.
This structure can be duplicated for every new client.
Step 4: Make the Portal Easy to Navigate
A client should not need instructions just to find a document.
Keep the navigation simple.
Use clear sections such as:
- Overview
- Files
- Project Updates
- Meetings
- Feedback
- Invoices
- Contact
Avoid creating dozens of pages.
A simple portal is often better than an impressive but confusing one.
Step 5: Create a Consistent Folder Structure
File organization becomes especially important when you have multiple clients.
Use the same folder structure for every project.
For example:
Client Portal
-> Project Overview
-> Documents
-> Deliverables
-> Feedback
-> Reports
-> Billing
You can add more sections depending on your business.
Consistency means you will always know where something belongs.
Step 6: Add Project Updates
One of the most useful parts of a client portal is the project-update section.
You do not need to write a long report every day.
A simple update could say:
This Week
- Homepage design completed
- Mobile layout started
- Client feedback received
Next Week
- Complete mobile design
- Prepare development files
- Begin testing
This gives the client visibility without requiring another meeting.
Step 7: Create a Feedback System
Client feedback can become confusing when it arrives through multiple channels.
One message may come through email, another through WhatsApp, and another during a meeting.
A simple feedback form can centralize the process.
Ask clients to provide:
- Page or file name
- What they want changed
- Specific feedback
- Priority
- Additional notes
This creates a record that you can review later.
Step 8: Protect Client Information
A free or inexpensive system can still be secure, but you need to configure it carefully.
Avoid publicly sharing sensitive documents.
Use:
- Private folders
- Access permissions
- Strong passwords
- Multifactor authentication
- Separate client accounts or permissions
- Regular access reviews
Only give clients access to the information they actually need.
Step 9: Avoid Sharing Sensitive Information Through Public Links
A common mistake is creating a public link to a folder containing confidential information.
A link may be easy to share, but convenience should not come at the cost of security.
Before sharing anything, check:
Who can access this?
If the answer is “anyone with the link,” consider whether that level of access is appropriate.
Step 10: Give Each Client a Clear Starting Point
When a client logs into or opens the portal, they should immediately understand what to do.
Your welcome area should answer three questions:
Where am I?
Explain the project.
What’s happening?
Show the current status.
What do you need from me?
Clearly list any client actions.
For example:
Action Required
Please review the homepage design and submit your feedback using the feedback form by Friday.
This is much clearer than sending a long email.
Step 11: Automate Simple Tasks
You do not need expensive automation software for everything.
Look for repetitive tasks in your workflow.
For example:
New Client -> Welcome Email -> Portal Access -> Questionnaire -> Project Start
You can create templates for these steps.
A welcome email might contain:
- Portal link
- Getting-started instructions
- Questionnaire
- Meeting link
- Contact information
This saves time every time you onboard a new client.
Step 12: Make Your Portal Look Professional
A free client portal does not need to look cheap.
Pay attention to presentation.
Use:
- Your logo
- Consistent fonts
- Clear headings
- Professional language
- Clean layouts
- Consistent colors
- High-quality images where appropriate
Avoid filling the page with unnecessary graphics.
Professional design is often about clarity rather than decoration.
Example of a Simple Client Portal
Imagine you are a freelance web designer.
Your portal could contain:
Welcome
“Welcome to your website redesign project.”
Project Status
Current Stage: Design
Progress: Homepage completed
Files
- Brand assets
- Homepage design
- Website content
- Project documents
Client Tasks
- Approve homepage
- Provide About page content
- Submit final logo
Meetings
- Weekly project call
- Booking link
Feedback
- Submit design feedback
Contact
Email and support instructions.
That’s enough for many small projects.
Free vs. Paid Client Portal Software
A DIY portal can be an excellent choice when your requirements are simple.
Free or DIY Approach
Advantages:
- Low cost
- Easy to customize
- Uses familiar tools
- No complicated setup
- Flexible
Disadvantages:
- More manual work
- You manage the system yourself
- Fewer built-in automations
- Security configuration is your responsibility
Dedicated Software
Advantages:
- More automation
- Client logins
- Built-in project management
- Integrated billing
- Professional client dashboards
Disadvantages:
- Monthly costs
- More features to learn
- Potentially unnecessary for small projects
Start simple and upgrade when your business actually needs more functionality.
When Should You Upgrade to Paid Software?
A DIY portal may stop being practical when you have many clients or complicated workflows.
Consider dedicated software when you need:
- Automated client onboarding
- Advanced billing
- Time tracking
- Automated reminders
- Multiple team members
- Advanced permissions
- Detailed reporting
- Large-scale project management
Do not pay for features you are not using.
Common Client Portal Mistakes
Too Many Tools
Using ten different apps can make your system harder to manage.
Try to keep the workflow simple.
Poor Organization
Random folders and unclear filenames make clients frustrated.
Use a consistent structure.
Weak Security
Never treat client information casually.
Use proper access controls and authentication.
Too Much Information
Your portal should make information easier to find, not create another information overload.
No Client Instructions
Tell clients exactly what they should do next.
Final Thoughts
You do not need expensive software to create a useful client portal.
For many freelancers and small teams, a mix of cloud storage, online forms, shared documents, calendars, and straightforward project pages is often all they need.
The key is not the software.
The key is organization.
Give every client a clear place to find files, project updates, tasks, feedback instructions, and important links.
Start with a simple system. Use it with a few clients. Improve it based on their questions and your own workflow.
Once your business grows and your needs become more complex, you can always move to dedicated client portal software.
Until then, a simple, well-organized portal can give your business a professional client experience without adding another expensive monthly bill.
FAQ’s
1. Can I create a client portal for free?
Yes. You can create a basic client portal using free or low-cost tools such as cloud storage, online documents, forms, calendars, and project-management tools.
2. What should a client portal include?
A basic portal should include project information, files, updates, client tasks, feedback instructions, important links, meeting information, and contact details.
3. Is a DIY client portal secure?
It can be, provided you use private access permissions, strong passwords, multifactor authentication, and appropriate sharing settings. Avoid making sensitive client information publicly accessible.
4. Do freelancers need a client portal?
Not every freelancer needs one, but a portal can be very useful when managing multiple clients, projects, documents, approvals, and recurring communication.
5. When should I pay for client portal software?
Consider paid software when you need advanced automation, billing, team permissions, reporting, time tracking, or a larger-scale client management system.